Crafting Your Vision: A Guide to Printed Circuit Board Prototyping
Printed circuit board prototyping by ORINEW TECHNOLOGY. Fast, accurate prototypes. Get your designs tested and ready for production quickly. Contact us!
Crafting Your Vision: A Guide to Printed Circuit Board Prototyping

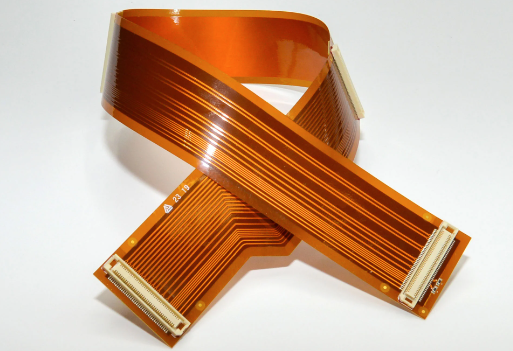
Printed circuit board prototyping is the process of taking an excellent idea and converting it into an actual electronic thing. This is the stage where engineers and innovators can test their designs, refine their concepts, and ensure functionality before they commit to full-scale production. This means that any electronics project, whether simple and just a hobbyist creation or even a complex industrial application, needs to be sensitively aware of the manoeuvring involved in circuit board prototyping. This is an all-inclusive tutorial that covers all aspects of printed circuit board prototyping, from selecting circuit board parts to optimising the process.
Why Printed Circuit Board Prototype is Important
Prototyping is related to making an actual working model of your design. In electronics, this basically means building an actual printed circuit board that would look like the schematic. The importance of this cannot really be said in words:
• Early detection of design flaws: Prototyping becomes a process for the detection and rectification of design errors at the earlier stage. Problems like short circuits, open circuits, and misplaced components can be identified and corrected during the prototyping stage to avoid costly changes in the later stages of production.
• Prototype testing: This will confirm that your circuit board meets the target specifications and actually works as expected, which relates to signal integrity, power consumption, and performance characteristics of the system.
• Risk reduction: You reduce risks in actual production by prototyping. There is a lesser chance of finding unknown problems in mass production, lower costs, and faster time-to-market.
• Improved Design Refinement: The prototyping process will give you feedback on how to improve your design. This means that you'll be able to observe how your circuit board works in the real world and then be able to effect improvement based on observation.
• Effective Communication: A physical prototype is a representation of your design. When compared to other means of communication with other engineers, stakeholders or potential investors, it is very effective. The representation will give a common understanding of the project, and this will make the feedback constructive.
The Circuit Board Prototyping Process
The circuit board prototyping process primarily involves the following stages:
1. Designing and Schematics: This is when your electronic design is converted into a schematic diagram. A schematic represents the blueprint showing how components would be mounted on your printed circuit board, thereby illustrating how the various components interconnect.
2. Component Selection: This is the process of identifying the right parts needed for your circuit board prototype. Some aspects to consider with the components in mind are availability, cost, performance, and reliability. They should be picked from available compatible parts that correspond with your design requirements.
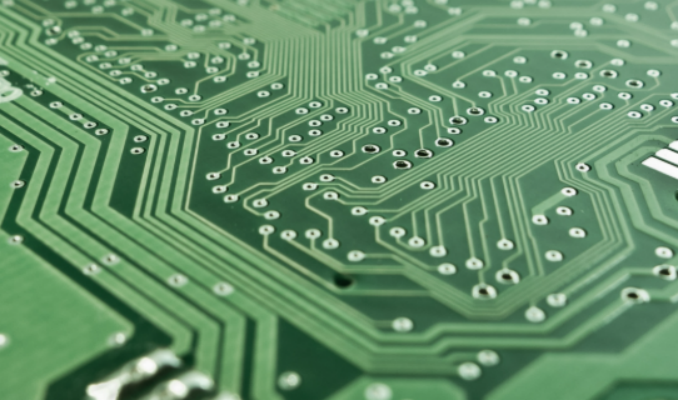
3. PCB Layout and Design: For the PCB layout stage, a translation of the schematic into a physical layout must be provided, putting components together on the board and routing traces that indeed connect the rest of the components. All of these require detailed factors in terms of signal integrity, power distribution, and thermal management.
4. Assembly and Testing: Once a prototype has been designed and fabricated, the relevant circuit board parts will be assembled into it by placement and soldered onto it. Following this, strenuous testing will be conducted to confirm whether it actually works, identify bugs, and make way for its further improvement in design.
Choosing the Right Circuit Board Parts
Circuit board parts will determine whether your prototype will sink or swim. Consider this:
• Functionality: the first thing that should be confirmed is whether the component satisfies the desirable functional requirements that were envisioned. Some of the things that come into play in this aspect are but are not limited to voltage ratings, carrying of current, and frequency response.
• Availability: make sure you get your components from places that guarantee availability. This will, therefore, cause less delay in prototyping and be available when a replacement is required.
• Cost: The cost is always a factor, but it should never be the deciding one. Overall, the cost-effectiveness of the component would be known to incorporate the performance, reliability, and long-term value.
• Reliability: Choose parts from well-known and respected manufacturers who have never failed to deliver with reliability. Needless to say, it would bring down part failure-related ones, and thus, the stability in your prototype would come a long way.
• Environmental Factors: If the prototype goes out into an environment with high temperatures or high humidity, select components that can withstand those conditions.
Optimisation Strategies for the Circuit Board Prototyping Process
There are many techniques for optimising the circuit board prototyping process; among them are the following:
• Design Automation Tools: EDA tools save a lot of time during design and layout. It has several features that include schematic capture, PCB layout software, and simulation capabilities. This is one way in which you can efficiently design and validate the printed circuit board.
• Adopt Fast Prototyping Technologies: As a result, adopt recent fast prototyping technologies such as 3D printing and laser cutting, among others. They help you to produce many versions of your prototype faster than the traditional way. Due to their higher flexibility and quickness, you may go through many iterations of your design.
• Establish Clear Communication Channels: This entails a team that is effective in design and prototyping and communicates very well to all team members, including engineers and technicians, among others who take part in the project. This is very important because proper communication prevents misunderstandings and makes sure people work towards one thing.
• Document the Process: Record all the prototyping processes, which would include recording of design decisions, component selections, test results, and any design change. Such documentation proves to be of value for future reference, troubleshooting, and design improvements.
• Thorough Testing: This is aimed at finding errors and correcting them early enough at the prototype development stage. It encompasses functional testing, which tests its performance and environmental testing, where the prototype should be able to work in the expected conditions.
Conclusion
Printed circuit board designing is a necessary step in the design process of any electronic product. This blog explains the process of proper selection of circuit board parts is made and efficient prototyping techniques that are carried out to accelerate the design cycle and increase its probability of success. These main aspects discussed in this tutorial will help you navigate the circuit board prototyping process more effectively towards bringing your innovative ideas to life.


